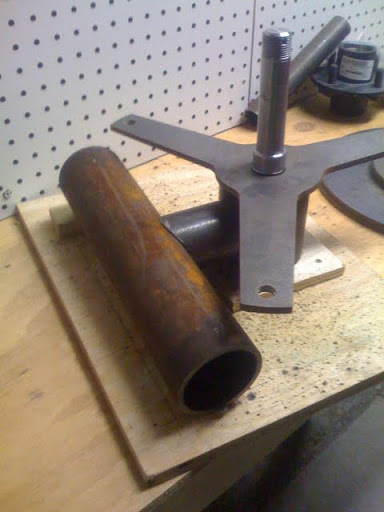
So the first step is to build the frame of the wind turbine. This is the part that mounts on the tower and holds the entire turbine together. It is a bit more complex then you might first think because there are three separate parts that pivot or spin: the tail pivot, yaw bearing, and the trailer spindle. In the picture below you can see the tail bearing on the left side, the yaw bearing is vertically oriented in the middle, and the trailer spindle on the right side of picture below.
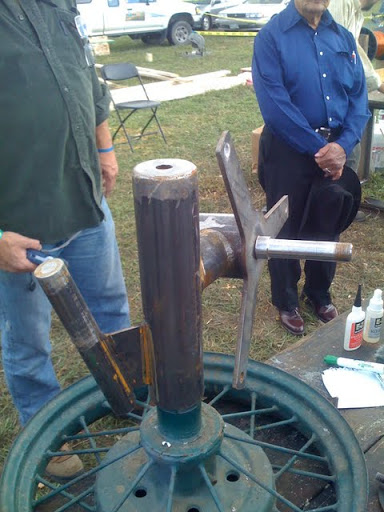
The primary job of the frame is to orient the entire turbine into the wind so the central shaft, called a yaw bearing, is able to rotate 360 degrees. The yaw bearing will be able to rotate because it slips over a greased bushing on the top of the tower. The tail will hang off the back and swings up and in towards the frame in higher winds. Like the yaw bearing the tail bearing is simply a greased bushing, allowing it to pivot in the wind. Finally, the trailer spindle is where the alternator and blades will be attached via a trailer hub. This all may not make a lot of sense at first, but will become clear a bit later.
All the parts that make up the alternator (copper windings, magnet rotors) and the blades will sit around the spindle. The magnet rotors and blades do the spinning because they are mounted to a 2000 lb trailer hub, which is attached to the spindle on the frame. The stator in this design is stationary and sandwiched between the 2 magnet rotors. So unlike most common AC motor or alternators, the magnets spin, not the copper winding. But, I will cover this all later in other entries.
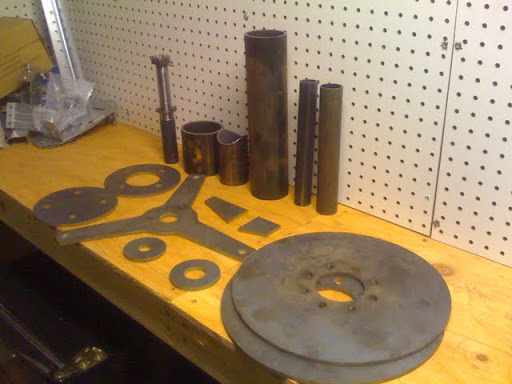
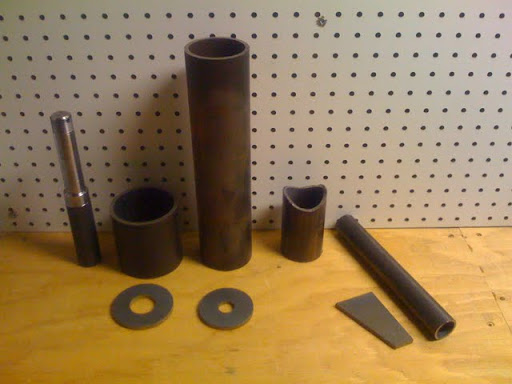
The design requires you to weld the frame together from a bunch of flat 1/4 inch pieces of steel and schedule 40 pipe. The book outlines exactly what you need to buy and how to measure and cut each piece. You start out with basically all of the parts you see below. I found a couple shops that will cut out the 1/4″ flat parts on either a plasma cutter or water jet cutter for a fairly good price, but I had the otherpower.com guys do it because it they had the best price (and I would rather give them my money anyway).
And after a bit of work with a plasma cutter and a mig welder you end up with the finished frame below. I used the plasma cutter to cope the ends of the pipes so they fit together.

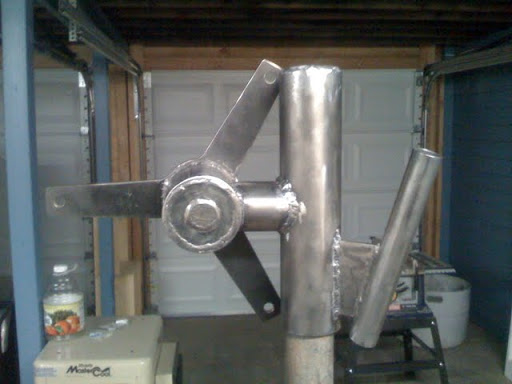
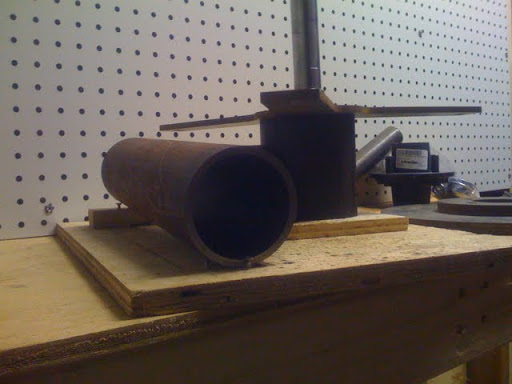
I built the wood jig below to set up all the pipes together at exactly the right angles, so I could easily weld the entire frame together without holding things in place. The pipes sit at strange angles so this is really necessary. The spindle points up about 7 degrees and forward a bit, so this orients everything just right.

Anyway it turned out pretty good and just needs a bit of clean up grinding. I plan on either painting the frame with a marine grade paint to perhaps paying someone to do an electric powder coat. I have to look at prices and see if the powder coat is affordable or not. So, next I am going to build the tail. It should go pretty quickly and then I will have all the welding done.