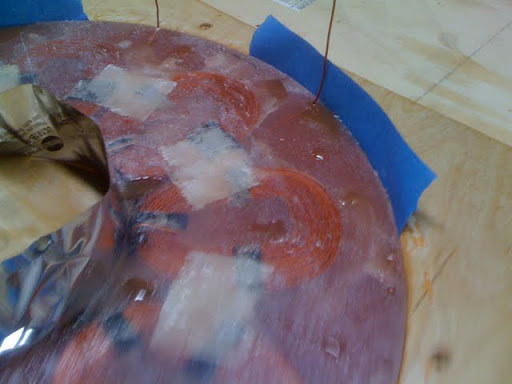
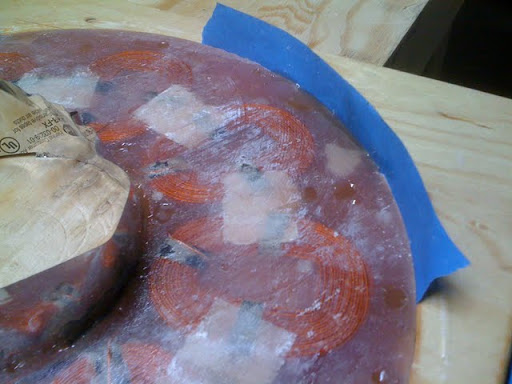
Time to fix up the stator. It had a bunch of air bubbles in it, so I taped up the edges and poured a bit more resin to fill them up. That worked really well as you can see from the images below. It still looks a bit patchy but it should work fine…regardless of how ugly it is.
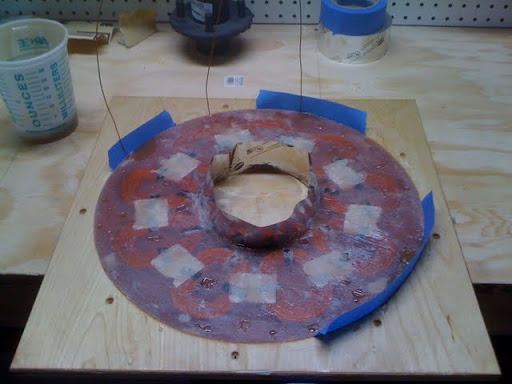
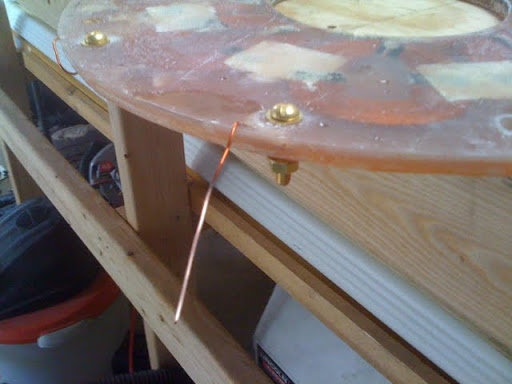
Next I drilled the 1/2 inch holes for the stator bracket so the stator can be hung on the alternator, and I drilled the 1/4 inch holes for the brass terminals lugs that you see below. Each of the terminal lugs corresponds to one of the phases in the 3 phase alternator and produces AC current slightly out-of-sink with the other two phases.
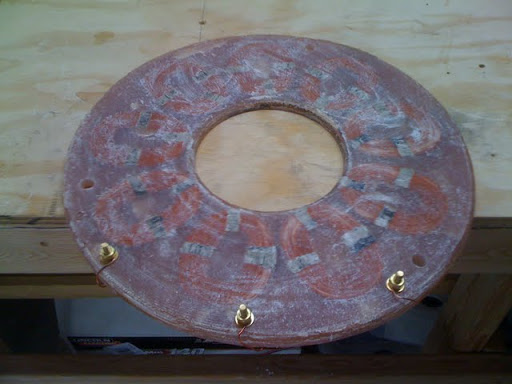
You can’t really tell from the pictures but it turns out the copper coils were put into the mold just about a 1/8 inch to far to one side. This may cause a slight problem when mounting the stator later. I think it will be ok though. I may need to redrill the mounting holes or bend the stator bracket a little in order to fine tune it. We will have to see once it is assembled. I will not make this mistake on the next one for sure.
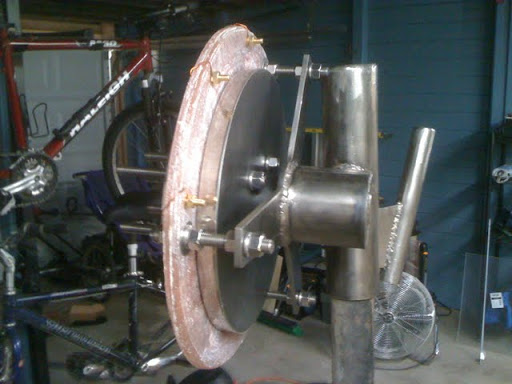
Anyway, the stator is done. This is definitely the most challenging part of building the wind turbine. A lot of things can go wrong and it can cost you a bit of money, so take your time and do it right. I think the coils being slightly offset is the first thing that I have done wrong so far and I hope it turns out not to be a big deal. We will see.