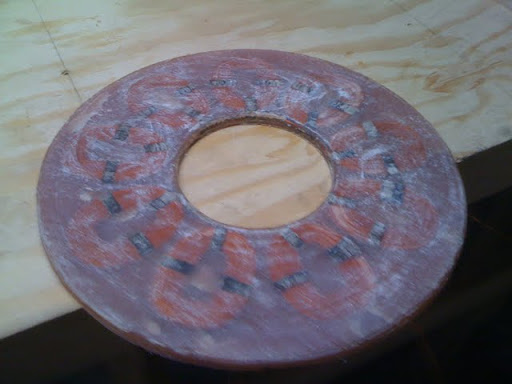
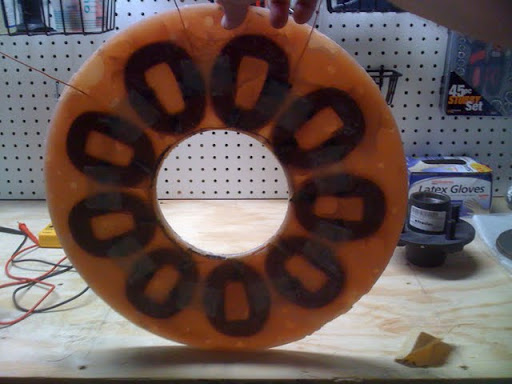
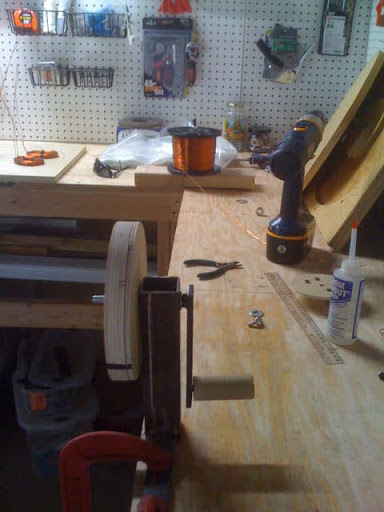
I wound the coils using my home made coil winder that you can see below. The Otherpower book had plans for the coil winder too.
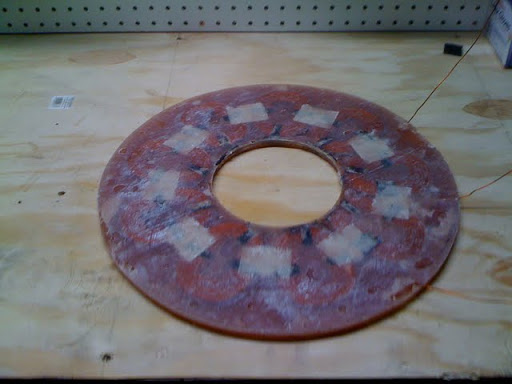
I then spent a lot of time soldering and heat shrinking everything together. It is difficult to get the coils spaced properly and all the leads soldered correctly and keep everything tidy. You have very little space to work in and are worried about shorting out a coil from all the bending and such. I didn’t do a voltage drop or resistance test or anything like that to test the finished copper windings so hopefully everything was done right. I won’t know until I put the alternator together. Take a look at the copper windings pics below. Oh, and thanks Jay for all your help with winding and soldering the coils. I bet you thought you would never see the day that I actually cast them in resin.
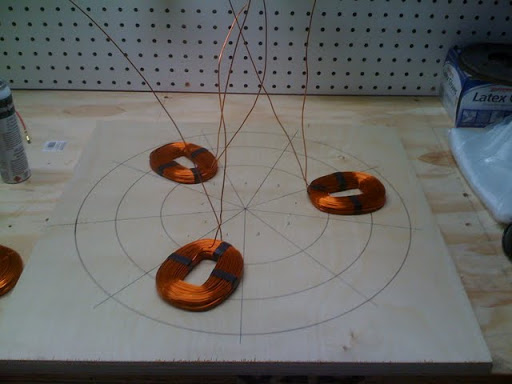
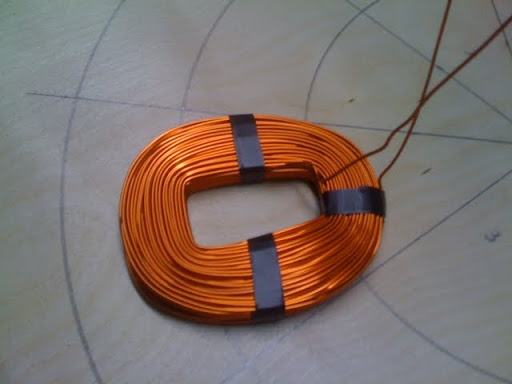
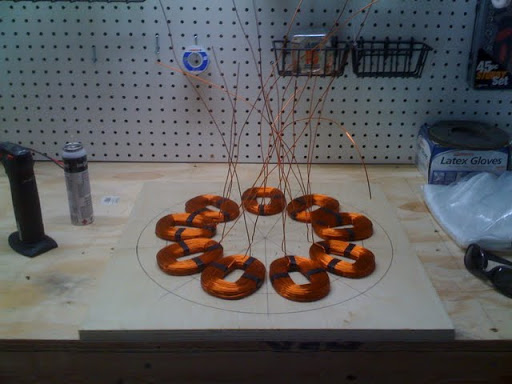
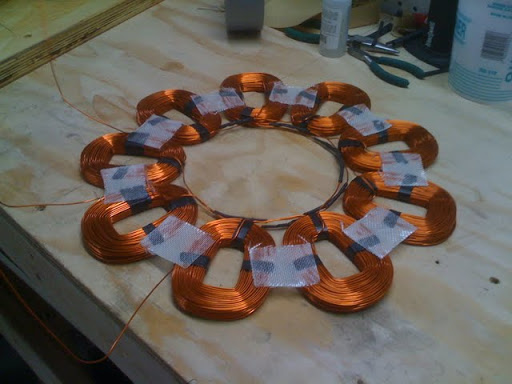
It would be nice to build the alternator with the leads of the coils pointing towards the outer diameter of the mold so you didn’t have to risk any bad solders that are then encapsulated in resin. If you make one mistake you have ruined the entire stator at a cost of about $100 or so. I might try this alternative arrangement instead on the next one.
Next I waxed the mold and got all the resin ingredients together and measured out…
– 1 and 1/2 quarts of vinyl ester resin.
– 1/4 pint of fiberglass strand (1/4 inch long)
– 3/4 pint of ATH filler
– 1/4 ounce hardener
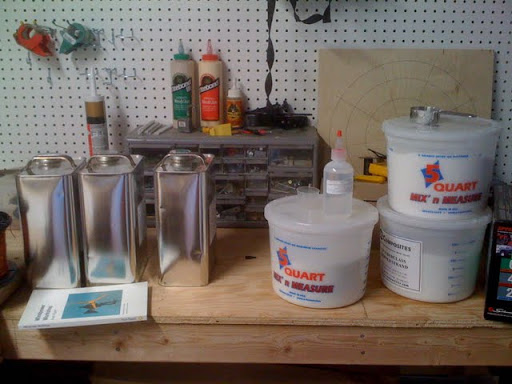
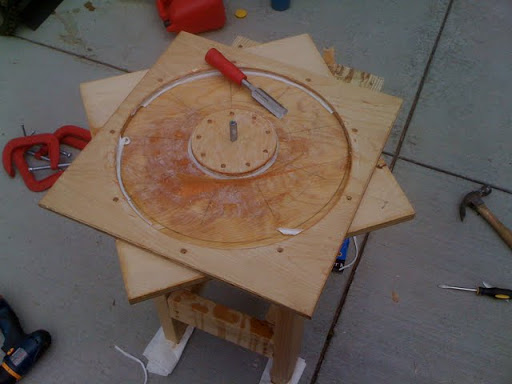
I decided to use the amounts above for a few reasons. I did not use as much filler as the book recommended because I wanted the mix to be less viscous so I didn’t have to worry about air bubbles being trapped in the mold. I also added a little fiberglass to add strength. I used a bit more hardener on this cast then with the rotors because it just didn’t seem to set without adding heat last time. Hopefully it will set in a reasonable amount of time. At this point it has been like 5 hours and it has not really hardened up much if at all. I’m going to let it sit over night and see what happens. If it looks the same in the morning then I am going to apply heat using an electric space heater. Anyway, here are a couple of pictures of it sitting in my garage. Notice the three copper leads sticking out of the mold.
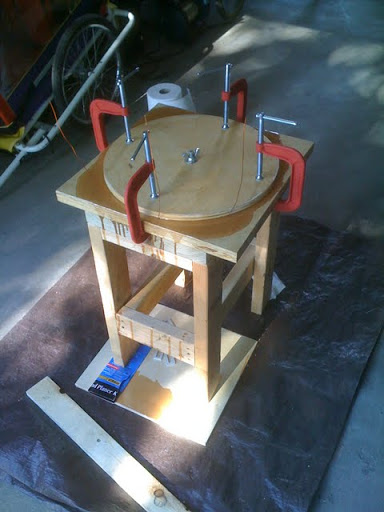
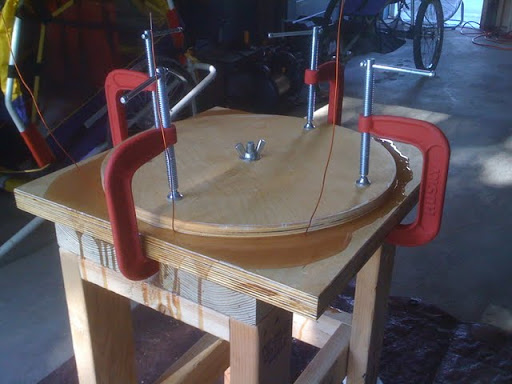
Well the mold did NOT appear to harden up much at all over night. I was not too concerned though because I knew from my experience with the rotors that I could just apply a bunch of heat in order get it to fire off. So, I let it set all day in the garage. It got up to around 95 degrees and then started to cure really well. It is about 7:00 in the evening now and it looks like it is well on its way to setting up. I’m going to wait a good while longer thought to make damn sure I don’t ruin the cast by opening it too early. I hope it turns out nice…or I’ll be a bit disappointed.
Well all’s well that end well. I ended up waiting another day before opening the mold. I took a bit of advice from the forums…
https://www.fieldlines.com/story/2009/6/22/32158/2446
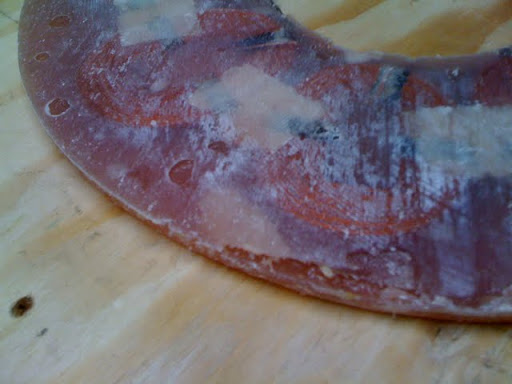
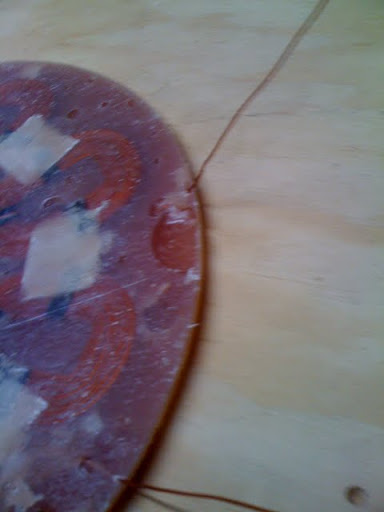
After a couple hours in the sun the mold (and my tester) was totally cured. I guess UV does work. Well my temperature gauge registered 107 degrees on the mold too, so that had a lot to do with it. Anyway, it cured up nicely even with so little hardener (about 1/2 %) but it did take some heat. I don’t think it would have ever cured without it. Unfortunately, there were a number of air bubbles but they all look like they are cosmetic and fixable. I am going to use a bit of tape around the edges and pour more vinyl ester resin into the hollow spots…maybe put something flat on top to smooth it out.
The mold was destroyed in the process of removing the casting. The bottom of the mold even pulled up a bit of the plywood. I think making a plastic mold is a really good idea. I would not do wood again. The stator does not “fall right out” if you are a mere mortal like me. The other power.com guys are not mere mortals. And this was after 4 layers of linseed oil and 3 very thick layers of mold release wax. I’m not sure what else I could have done to make it release better.
Anyway, here are a few pictures…
